Without working with layers in Photoshop, it is impossible to imagine the effective use of the popular graphics editor. The simplest and most understandable comparison is to present each layer with a transparent film, which shows a fragment of the picture. A stack of films stacked on top of each other gives a complete picture.
General Provisions
Layers were developed in Photoshop 3.0 in 1994 and were present in all subsequent versions, gradually improving and acquiring new features. Although the layers in the CS6 Photoshop in the initial versions and in the modern CC (2017) Photoshop are significantly different, the principles of their application remain constant and, having studied them, you can freely work in any version of Photoshop.
For beginners in Photoshop, we recommend starting with the Russian version, so here we give the Russian names of commands, items and menu items. This article will discuss working with layers in Photoshop for Dummies, who begin to master a powerful graphic editor from the very basics. We will learn how to create, edit, copy, delete, group and ungroup, show and hide, merge layers, apply effects, add styles, etc.
How to create a layer
For full-fledged work with layers in Photoshop, the first thing you should start learning with is the layer panel (hereinafter - the panel). To open it on the screen, use the Window - Layers menu or the F7 key.
When you create a file or open a photo, in the panel there is only one base layer “Background”. It is marked with a special “lock” icon. This means that the possibilities of working with it are limited: it cannot be deleted, use effects, change transparency.
To change the special status of the background layer, double-click on it and click OK. The result was an ordinary pixel layer without restrictions, which is most often used in work.
Next, we will familiarize ourselves with other methods for creating layers. They should be selected for each specific case. The New Layer icon is located on the bottom line of the panel. Clicking on it gives us an empty layer, which is placed above the original one. If you click by pressing Ctrl, the new layer will be located below the original one. You can use the main menu items "Layers - New - Layer".
To duplicate an existing layer, you can apply such a technique as "copy the layer in Photoshop." The fastest way is to press Alt and drag the layer a line above with the mouse. Another option: drag the icon of the selected layer onto the “New Layer” icon that we have already considered. In addition, Ctrl + J keys are provided for duplicating a layer. When pasting an item from the clipboard, Photoshop puts it in a new layer.
How to select a layer in Photoshop
By clicking on the icon of the desired layer, you can easily get the selected layer. If you want to select a range of layers while holding Shift, click on the first and then on the last layer of the range. To select individual layers, select them with the mouse with the Ctrl key.
How to remove a layer
Here are five of the most common methods. The first one is just to click Delete on the deleted layer. The second - using the menu "Layers - Delete".
The third option is to right-click to display the context menu and select the "Delete layer" position. The fourth way is to use the trash can icon on the bottom line of the layers panel (transfer the layer to it). And finally, the fifth - with the layer selected, click on the trash can icon.
How to change a layer in Photoshop
The most common layer editing operations are: resizing content, color, brightness, contrast, applying different filters, etc. The size of the content is easy to change through the "Edit - Transform" menu or by using the CTRL + T key combination. After that, a rectangle with special labels on the borders will be displayed around the layer. By pulling them, you can scale the layer, rotate it and even change the shape.
Layout Order
Sometimes it is necessary to move some layers forward, and some - to remove back. To change the order of the layers, there is a menu “Layers - Arrange”. However, it is much simpler and more visual in the layer panel by dragging and dropping the icons and arranging them in the desired order. Also for arranging operations, layer hotkeys are widely used in Photoshop:
- Move upward Ctrl +].
- On top of the rest Ctrl + Shift +].
- Move down Ctrl + [.
- Below the rest, Ctrl + Shift + [.
Types of layers in Photoshop
We examined two types of layers: background (1) and ordinary pixel (2). In the framework of the article on working with layers in Photoshop for dummies, we will not dwell on all types of layers, we will simply list their main properties:
- A text layer is created when you enter text information using the Text tool. The text layer is vectorial and allows you to scale text elements without loss of quality. The size, style and all text attributes are selected in the same way as in a regular text editor. If you need to apply raster effects to the text and process it like a normal picture, use the Rasterize command.
- Smart objects are different from other types of layers. It is easiest to imagine it as a container in which the original image is stored. You can transform the container without changing the original data in it: this saves the possibility of recovery. You can create a “smart object” if you right-click on the target layer and then select “Convert to smart object” from the drop-down menu. Successful conversion will be marked on the layer icon with a special icon in the lower right corner.
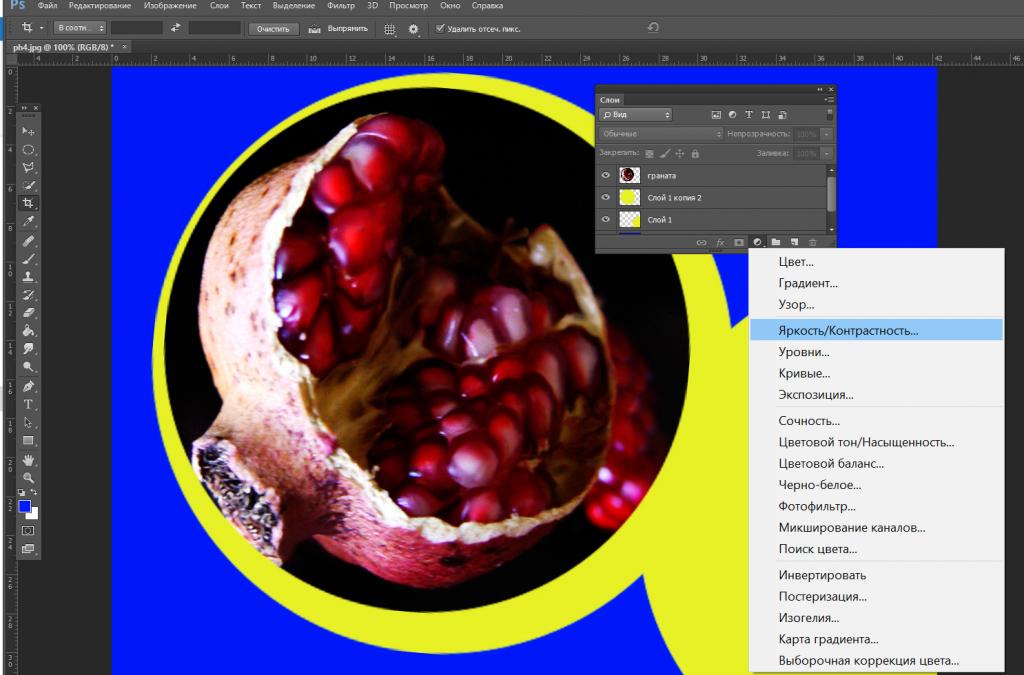
- Adjustment layer. To create it, use the corresponding icon at the bottom of the palette. This tool has wide functionality and affects the layers that are in the panel below. With it, you can adjust the brightness, contrast, exposure, richness, saturation, color, etc. For each adjustment layer, there are a number of settings in its own palette.
- The fill layer is created using the same icon as in the previous case. When clicked, a list opens in which the top three positions are the type of fill: uniform color, gradient color or pattern.
- The shape layer contains geometric shapes drawn using the Free Shape tool.
Using the image below, you can imagine all seven types of layers.
Layer style
To assign certain graphic properties to the style when working with layers in Photoshop, there is a menu called “Layer Style”. You can get into it by clicking on the corresponding icon at the bottom of the panel or by double-clicking on the icon of the layer. Applying the effects of shadow, glow, relief or stroke with various parameters to the layer, you will get many options for graphic design. For example, using a stroke in combination with other effects, you can create a variety of frames for Photoshop on a transparent background.
Layer transparency
To adjust the transparency of the layer in the upper part of the palette there are corresponding text boxes: “Fill” and “Opacity”. By moving the slider, you can increase or decrease these parameters specified in percent: 100% - the layer is opaque, 0% - the layer is completely transparent. The difference between these two settings is as follows: “Fill” is responsible for the visibility of the fill content of the layer, “Opacity” controls the visibility of the entire layer.
For example, if you want to reduce the visibility of a layer but keep the effects visible, you should use “Opacity”. If you want to reduce the visibility of a layer with all the attributes, the “Fill” setting is useful
Layer visibility
If the higher layer interferes with working with the lower one, you can hide it, that is, change its visibility. To do this, just click on the “Eye” icon to the left of the layer icon. A second click returns visibility. This technique is convenient if the user places design options in different layers of the same file and, hiding / displaying the layers in various combinations, selects the best one.
Layer grouping
If there are many layers in your layout and it is advisable to arrange them according to some characteristic, it is convenient to perform grouping. To do this, apply the CTRL + G key combination to the selected layers. Now the grouped layers are moved to the folder with the group name.
You can use another way: click on the icon with the image of an empty folder in the bottom line of the panel. In the new folder that appears, drag the layers you want to group. Ungrouping layers allows the combination of Ctrl + Shift + G. The same operations are provided in the “Layers” menu. You can apply effects, masks, and other attributes to groups. The program also provides for nested grouping of layers, that is, the creation of groups within other groups.
Merge Layers
Often in the process, you need to combine two or more layers. To merge several layers, it is easiest to select them and use the keyboard shortcut Ctrl + E. To merge all visible layers, press Ctrl + Shift + E. After finishing work on a project, it is often required to reduce the image to a single layer. To do this, use the menu “Layers - Reduce”. Photoshop uses its own PSD format for layered files by default. If you need to write the file in a different format, for example, JPG, you will need to pre-mix the layers.
Attention! You can only split back merged layers if the procedure is recent and the file is not closed using Ctrl + Z or the Operation History panel. Otherwise, a single layer will remain. Be careful when performing this operation.
In this review article, we have considered far from all aspects of working with layers in Photoshop. We recommend that novice users master the described techniques, and then proceed to more complex procedures (for example, to use masks, blending modes, etc.) to study the Adobe Photoshop program, which is limitless in its capabilities.