Although the Java programming language is being superseded by newer and more advanced languages, it still remains relevant today. But for all the elements that require the appropriate installed software on the computer to work correctly, it is necessary to monitor the release of new versions. This article will tell you how to upgrade Java to Windows 7, but it’s worth saying right away that the instruction will be general (not only for the seventh, but also for other versions of the operating system).
Update "Java" on the computer
Often, if you already have Java installed, the system will notify you of a new version of this software on its own and will offer you updates. But if for some reason this does not happen, there are two ways to manually update Java. It is about them that we will talk now.
Method 1: Java Official Website
Undoubtedly, in order to update the version of Java, it is necessary to look for it on official sources, otherwise there is a high risk of introducing viruses into the operating system. So, searches must begin on the official website of this product.
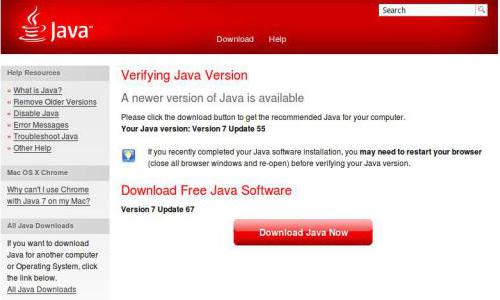
- Open a browser and go to the official Java website.
- On the main page, click on the red button "Download Java for free."
- Now agree to accept all of the license terms to begin downloading the installer.
- After downloading the installer file to your computer, go to the folder with it and launch it by double-clicking on the icon.
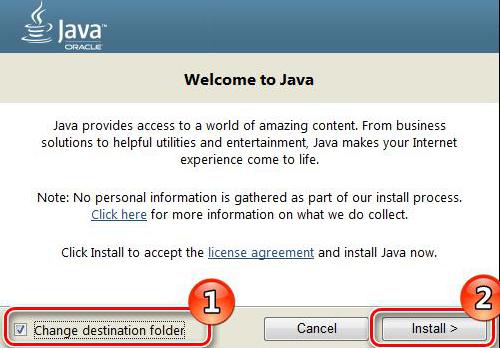
- In the installer that opens, at the first stage you need to click the "Install" button. Please note that it is possible to select a directory for installation. To do this, check the box "Change destination folder".
- If you checked, you will be asked to specify the path to the destination folder. Click the "Change" button and in the "Explorer" window that appears, select the desired folder, and then click "Select".
- The installation process of all software files starts. All you have to do is wait for it to complete.
- In the process, if there are other versions of the product on the computer, the installer will offer to remove them. Check all the items in the corresponding list and click the "Install" button.
- Wait until a window appears informing you that the installation is complete. In it you need to click the "Close" button.
This was the first way to update Java on a computer. If you encounter difficulties while following the instructions, then try the second method.
Method 2: Java Control Panel
It’s worth saying right away that you can use this method only if you already have an application installed on your computer. So, we will pass directly to how to update "Java" by the second method:
- Open the Control Panel. This can be done through the Start menu by clicking on the button of the same name.
- Select Java from the list of all items.
- In the new "Java Control Panel" window, open the "Update" tab, check the box next to "Check for Updates Automatically" so that updates are automatically checked in the future, and click the "Update Now" button. It should be noted that this button is only active if your software version is outdated.
- Wait for the update process to complete.
Now you know two ways to upgrade Java to your PC. As you can see, both methods are very different from each other, but, despite this, in the end they give the same result.