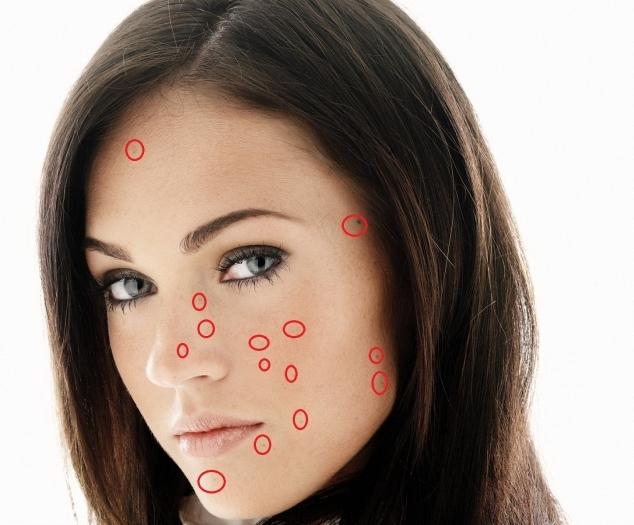
Quite often, a pimple or another small defect that does not appear on time spoils the whole impression of the photo. Unfortunately, foreseeing this in advance will not work. Also, it is often not possible to quickly get rid of this problem. Sometimes, of course, the foundation helps, but even he cannot completely disguise the defect and save the situation. For such cases, it will be very useful to know how to remove acne in Photoshop. This will help the image look aesthetically pleasing, and the result will not be ashamed to show to friends and relatives.
Opening the program and uploading a photo to it that will be processed, it remains only to allocate a little time for the procedure, since it is very easy to remove acne in Photoshop. To do this, you need the tools located on the main panel on the left. We are talking about such elements of retouching as “Stamp”, “Brush” and “Blur”. They can be activated by pressing the left mouse button or use the hot keys assigned to call each of these functions. It should be noted that the use of quick access buttons and their combinations significantly speeds up the work in this program.
To begin, select the "Stamp" tool. You need to know that it performs an extremely important function in correcting photos, since in Photoshop you can remove acne, in principle, using only this function. However, the result can have a sharp change in the circuit in those places where the work was carried out. Therefore, to obtain a better result, they also use the “Brush” and “Blur”, as mentioned above.
So, having activated the "Stamp" tool, it is given a radius of about 10 pixels and a small stiffness value. The latter can be left even at zero. Further, in order to learn how to remove acne in practice, you need to hover over a skin area that is not characterized by defects, but has the closest possible tone to the area where you need to mask a pimple.
Having picked up such a place, hold the Alt key, pressing the left mouse button (LMB) once. The cursor on the screen will change its shape, becoming similar to the sign of the target, and the area so marked will serve as a sample. Then the cursor is moved to the problem area and click LMB. As a result, the existing pimple will close the tone of the sample, while Photoshop automatically carries out a small color correction, helping the duplicated area harmoniously merge with the environment. The higher the rigidity of the tool used, the clearer the boundary between the “cloned” sample and the area into which it is imported.
Then select the Brush tool and adjust it in a similar way. With its help, various redness, darkening, etc. are removed. The algorithm of action is the same as in the case of the "Stamp". The last tool that is needed to remove acne in Photoshop is the Blur. With its help, final image processing is carried out. Each user can make the instrument settings individually, as this entirely depends on the particular image. Work with the tool is carried out with the LMB pressed.
The described procedure gives an exhaustive answer to the question of how to remove acne in Photoshop in Photoshop. You may notice that it is quite simple.