An apron is an integral part of any modern kitchen. It is laid out in the area of the working area between the furniture and the surface of the countertop. The classic design of this plane is ceramic tile. Her choice is due to many positive characteristics. This material is durable, practical, attractive, easy to care for, resistant to temperature changes, moisture, abrasive substances. What to look for when choosing ceramic tiles for an apron? What are the installation features?
The subtleties of choosing ceramic tiles for a kitchen apron
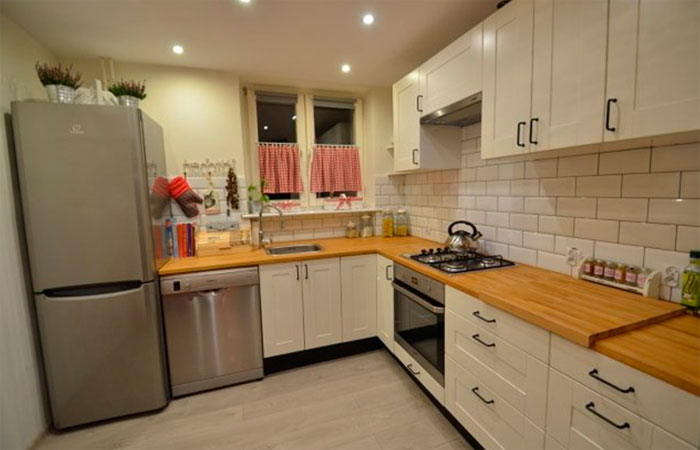
The modern market is positioning a wide range of ceramic tiles, which can be used to equip the working area in the kitchen (see. ) When choosing it, you must pay attention to the following factors:
- color - the palette of the finishing material should be selected by analogy with the basic solutions used in flooring or furniture production. Contrast options are also possible, but they should be combined with the rest of the interior;
- texture - ceramic tiles can be matte and glossy, smooth and grooved. The convenience of care will directly depend on these indicators. Experts recommend giving preference to smooth glossy surfaces. It is not difficult to clean them from drops of fat, moisture and other contaminants. At the same time, dirt will accumulate in micropores and indentations and special brushes will have to be used to eliminate it;
- size - there are many options, from mosaics to large tiles. When choosing here, it is worth considering the dimensions of the room and the overall design solution. The smaller the kitchen space, the smaller the tiles should be. Universal is the decoration of 10x20 cm and 10x10 cm;
physical indicators - the material must be heat-resistant and durable.
Installation of the apron: process features
You can lay the apron with your own efforts. For this, it is advisable to have minimal construction skills. First of all, it is necessary to prepare tools and materials. Here you will need a spatula (preferably rubber), a good lint-free rag, tile cutter, adhesive mixture, crosses, grout, and directly ceramic tile. The surface where the installation will be carried out must be freed from furniture, leveled and primed. Also, before starting the masonry, you need to markup taking into account the size of the gap between the furniture and the countertop. Particular attention should be paid to the calculations when laying designer finishes, providing for the presence of drawings and compositions. It is important that the stock of material is at least 20%.
The main stages of installing ceramic tiles for the kitchen: preparing the mixture, applying glue or mortar to the wall or decoration segment, masonry, installing crosses to form even joints, removing the mixture. Further, everything is done by analogy. It is advisable to start the process from the center. If there are images in the composition, the designer’s drawings should be the first to be laid, having performed the layout before this. Before proceeding with the installation of the next row, it is necessary to allow the previous one to dry out a little, which will avoid displacement. After completion of work and complete drying, it is worth making sure that there are no voids and grouting the seams.
From the author: