A skull is a rather complicated design, but a novice artist will not hurt to know its construction. After all, this knowledge in the future will help to draw portraits from different angles, especially if these portraits are fictional, and not copied. Therefore, this article will focus on how to draw a skull in stages. Of course, you need a piece of paper, a pencil and a soft eraser. It is very desirable that the "nature" is also present: so you can choose the best angle and consider the details. In addition, if you seriously decide to start drawing, then it will not hurt you to “fill” your hand on the skull, drawing it from different sides.
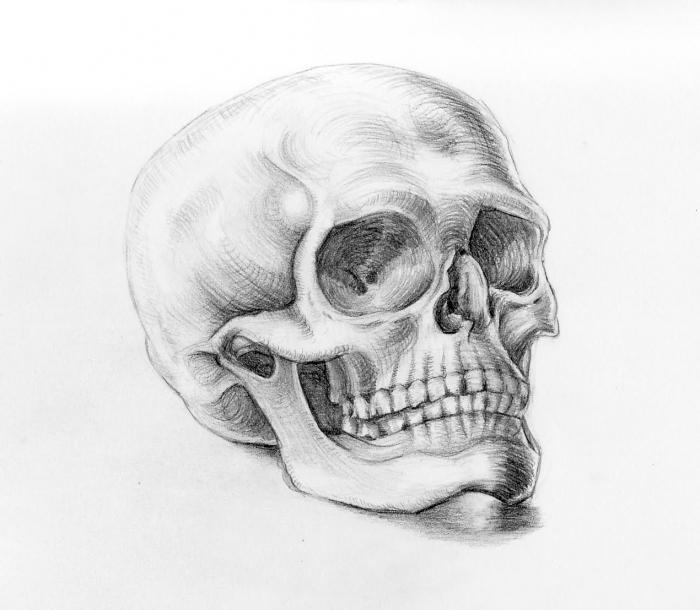
Before you draw a skull with a pencil, do not forget that it has a volume. Smooth construction lines will fit if you draw the skull directly. When deployed in three quarters of the position, these lines will shift (according to the law of perspective) and will take on curved shapes. However, let's get down to the task of how to draw a skull. First you need to draw an axial horizontal line (axis of symmetry). At the initial stage, this axis will determine the height of the future image. Next, divide the axis into three parts using thin horizontal lines. Guided by them, we sketch out the eye sockets, nasal cavity, and mouth area.
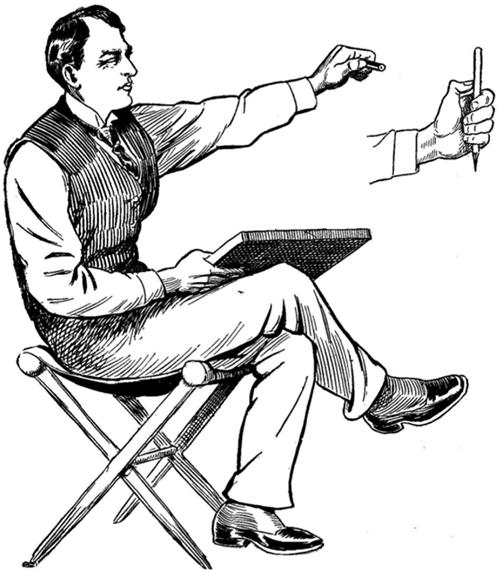
The next step to how to draw a skull will be a light, as yet sketchy, sketch of its contours relative to parts of the “face”. Try to ensure that these contours are neither too far from them, nor too close. Not that the skull will look deformed. Check your drawing with nature more often, try to keep proportions. It’s easy to do. For example, if it seems to you that you have depicted too large eye sockets, then you can compare them with the original. To do this, take your pencil strictly vertically and, squeezing one eye and stretching out your hand forward, point it at the object. The figures below show how this is done. In our case, the object is an eye socket. Fix on a pencil its height.
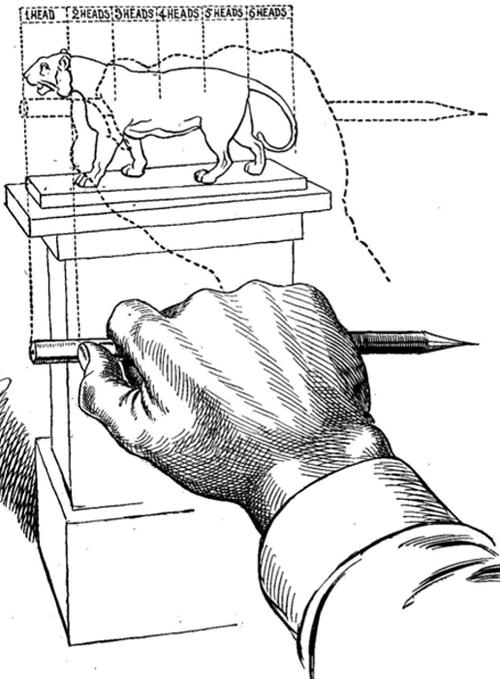
Continuing to hold a pencil with a fixed height of the eye socket, calculate how many times this height fits in the height of the entire skull. That is, imagine that the original also has an axis in the middle. Move the outstretched hand with a pencil in this way (the eye is still closed, and you do not need to approach the nature) so that the fixing finger is at the level of the chin. Visually mark at which point of the axis the point of the pencil is located, then move your hand slightly upwards so that the fixing finger is now at that point. Do the same manipulation until you get to the top of the head. Now that you have done the calculation in kind, do the same in your drawing. For that extra segment that you will have after measuring, you should reduce the height of the eye sockets. In this way, you can easily and accurately determine the ratio of the values of absolutely any objects.
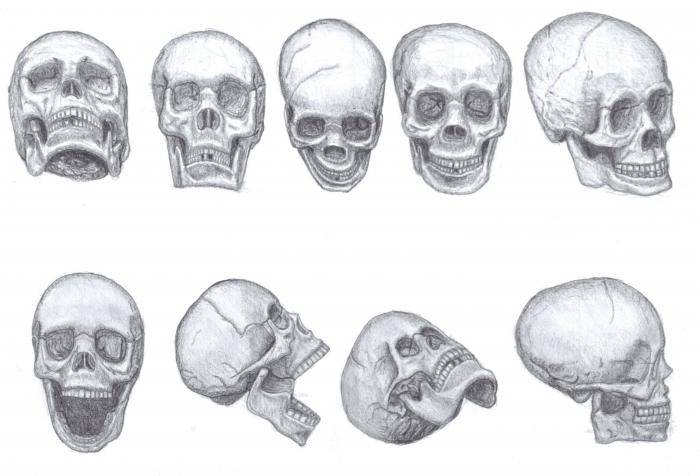
Once you, in proportion, have made a worthy sketch, you can proceed to the next stage of how to draw a skull, namely, to draw a more detailed sketch of it. Here you can already clearly outline all the contours, and simply erase the auxiliary lines. After that, you can start hatching. Do not forget that the skull is a voluminous object. And, besides, light. Therefore - do not overdo it by clicking on the pencil. The strokes should follow the contours, emphasizing the bulk. The darkest areas are the eye sockets and the nasal cavity. The deeper inside the skull, the darker the shadows should be. I hope these recommendations on how to draw a skull will help you cope with the task.