At night, as well as in bad weather, correctly adjusted headlights will ensure the required traffic safety. However, if the optical axes of the headlights are offset, the visibility of the road will be impaired, therefore, oncoming drivers will be blinded. This will significantly increase the risk of an emergency. Every car owner knows that over time, the headlamp intensity decreases. This means that every six months you need to adjust the headlights of the car. In addition, if during this time any work is carried out with the chassis, for example, replacing lamps or parts of headlights, additional adjustment should also be made.
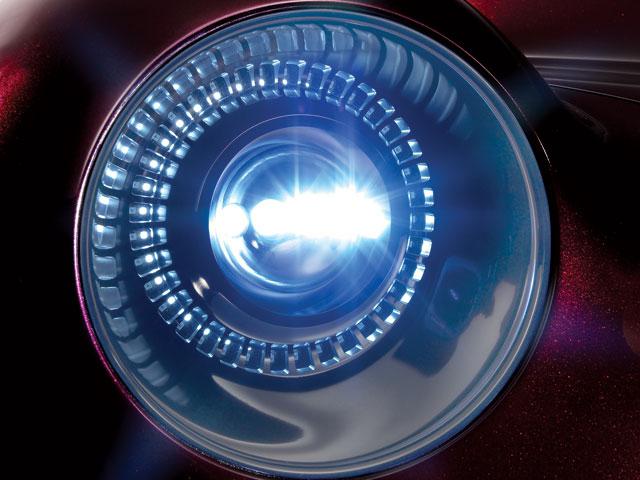
Structurally, car headlights consist of a reflector and a light source - a lamp. There is an American and European light distribution system. A feature of the latter is the presence of a metal screen, which prevents light from entering the lower part of the reflector. Similar measures are taken to prevent the oncoming drivers from being blinded. If the surface of the diffuser is dirty, the headlight adjustment will become incorrect, and the blinding effect of light will increase significantly. The American system is distinguished by the lack of a screen. During movement, the direction of the light shifts slightly to the right, which prevents glare.
Headlight adjustment is a delicate and troublesome business. Only at first glance does it seem that these settings are unimportant. However, at the slightest inconvenience, you should visit the service station.
In addition, headlight adjustment can also be done independently.
There are 2 configuration options. According to the first option, the headlamps should be adjusted on a flat area next to a solid wall, without protrusions and angles. On the wall, you will need to draw a line with chalk, which will correspond to two frequent cars: right and left. The easiest way to do this is when the machine is fitted close to the wall.
After drawing the line should be a little back so that the light traces of the headlights were clearly visible on the wall. Further marking of the wall is as follows: a horizontal line is drawn at a height. Next, a second line is drawn, 5 cm below. Crossing lines - the center of the headlights. When adjusting, the angle of the headlights and the drawn horizontal lines must match. The main beam headlamps are adjusted according to a similar algorithm, only the reference is the upper horizontal line.

Following the second adjustment option, you must stop the car ten meters from the wall. It also marks the places that correspond to the center of the headlights. Then it is necessary to draw 2 additional horizontal lines, higher by 22 cm and lower by 12 cm. In this case, the width of the light spot is set to zero. The intersection of light fluxes should be within the second and third lines. It is also necessary to ensure that the corrective additional screw is in its original position. In addition, adjustment should be made at rated load, i.e. with a full tank, inflated wheels and with a weight approximately equal to the weight of the driver.