The Chinese company Tenda is engaged in the production of inexpensive, but high-quality routers. In the Russian market, it is still not very well known, but its popularity is gradually increasing. In the assortment range there are different models that are able to provide each person with a stable signal and good coverage. During the operation of routers of this brand, as a rule, there are no problems. However, the correct operation does not always depend on the characteristics of the device. In this matter, the correct configuration of the Tenda router is of great importance. There are some users in whom this process can cause certain difficulties. But this does not mean at all that they will have to resort to the help of qualified specialists. The instruction outlined below will allow anyone to quickly cope with the setup of the device, which is carried out through the web interface of the router. Take the Tenda N3 as an example . According to most users, it is perfect for home. The indisputable advantage of the device is its compact size and antenna with a gain of 5 dBi. Thanks to the latter, the user gets good coverage with a stable signal. However, this model is not without flaws. The first and most important is the presence of only one LAN port. This suggests that one device can be connected locally to the Tenda N3 router , for example, a computer. Also missing are some options that equip more expensive network equipment. But for the average user, the functionality of this model will be quite enough. So, let's go directly to the study of the configuration process.
First connection
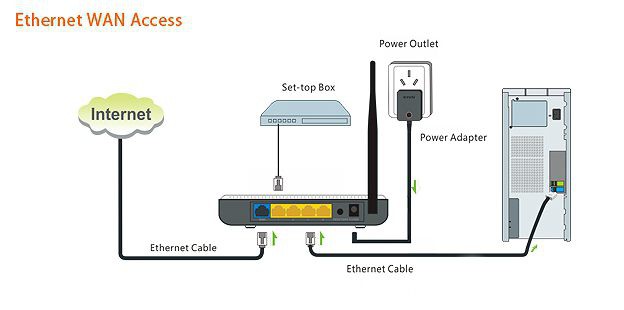
In order to create a wireless network, it is necessary not only to purchase special equipment, but also to connect it correctly. The router is equipped with two cables. The first is the power supply. It is necessary to connect the device to the mains. At one end of the cable there is a round connector that plugs into the corresponding socket on the router (PWR). On the other hand, the unit with the plug is attached. It is connected directly to a battery, for example, a power outlet. The second cable is patch cord. This interface cord is required for local connection between the computer and the router. On both sides it has the same plugs. The first is inserted into the socket on the system unit, and the second is inserted into the port labeled LAN (the connector on the router is yellow). And the last connection step is an Internet cable. It plugs into the blue WAN connector. After such simple manipulations, you can turn on both devices. If the indicators on the case of the router light up, then the connection was made correctly. By the way, we note that the N3 model is equipped with only one lamp (STATE), which should blink when the device is working correctly.
How to enter the settings of the Tenda router?
Logging into the web interface of the router can be done using any browser. Moreover, this does not have to be the most modern. Even Internet Explorer will do just fine with this task. If the user has installed on the computer such popular browsers as Mazil, Google Chrome, Opera and others, then there will be no problems at all.
So what do you need to do to enter the router menu? Just enter a numerical combination into the address bar and press Enter. It is standard for all models of this manufacturer - 192.168.0.1. After that, the user will see a connection window. It prompts you to enter authentication information. In two lines (username and password) you need to type the word admin. It is entered with a small letter. In order for the router menu to open, it remains only to confirm the action by clicking on OK. Thanks to such simple manipulations, the user gets access to the control panel, through which the Tenda router is configured.
Quick setup
Entering the network equipment interface, quick setup opens on the screen. Here, the user is asked to choose a means of access to the Internet, enter a username and password (if required by the provider) and come up with an eight-digit key to protect the wireless network. In most cases, this is enough to work, but sometimes a deeper configuration may be needed. For its implementation, you must go to the item "Additional installation".
Connection types
You can count on correct operation only if the Tenda router has been correctly configured. In this matter, the choice of mode (type of connection) is important. It is installed depending on the provider. The most common are:
- PPPOE (ADSL Dial-up) - enter data from the contract (login and password).
- L2TP - specify the server address, account number and password.
- DHCP - dynamic IP (network address is determined automatically).
Binding to MAC Address
In some cases, setting up the Tenda router can become much more complicated if the provider uses binding to one MAC address. In such a situation, it is recommended to enter the menu and on the control panel find the Clone MAC Address tab. By clicking on the appropriate button, the router will copy the address of the device to which it is connected locally.
Wi-Fi setup
The equipment of this brand works not only with a local network, but also with a wireless one. To do this, the user will need to set some parameters for Wi-Fi. Wireless configuration on the Tenda router is carried out in the Wireless settings tab. In the window that opens, select the item "Basic settings for the wireless network." Check the box next to enabling the function. Next, come up with the name of the network. After that, you will need to go to the encryption method. The most secure is WPA2-PSK. Having activated the mode, the user will have to enter a password to protect the network. Now it remains only to save data and connect the gadget via Wi-Fi.