The motherboard is one of the most important and basic parts of a computer. Almost all components of the PC are connected to the motherboard, so it is very useful to know how to install the motherboard in the system unit. Its replacement is mandatory when upgrading an old computer or assembling a completely new one. After reading the article, any inexperienced user will learn how to install in a couple of minutes.
Installing the motherboard: step 1
It is necessary to remove the cover from the computer case. If your device has two side covers, then you need to remove both. This is done so that access to the motherboard is free, and the process of dismantling and installation is more accessible. It is also convenient to remove the panel for the board from the case. This maneuver will simplify the installation process, saving you from working in an uncomfortable position. But it is worth noting that not all computer cases are equipped with a removable panel.
Before installing the motherboard in the system unit with your own hands, the settings of the operating system and driver must be reset. This is due to the fact that the change of such an important component implies the construction of a new system with new spare parts. You cannot install a new motherboard without formatting the system disks and reinstalling all the software. When removing the system unit cover, it is important not to lose the fixing bolts. They are best put aside in some small box.
Board Installation: Step 2
Before installing the motherboard in the system unit, it is imperative that you ground yourself for electrical protection. This is due to the fact that the human body has the ability to accumulate a charge of static electricity, which can cause a short circuit or overload of the internal elements of the system unit. You can remove the charge by touching the water from the tap. You can also wear an antistatic wristband that will keep your equipment safe and sound.
Board Installation: Step 3
The motherboard usually comes with a connector board, which is placed at the back of the system unit case. Thanks to this panel, the user can connect a monitor, mouse, keyboard and other peripheral devices. It is necessary to replace the standard board with a new one. It should be so.
- Press down on four corners of the detachable panel. When you insert it into the case, clicks are characteristic, making it clear that the panel has fixed.
- After installation, you need to check the correct location of the front side connectors by comparing with the connectors on the motherboard.
The next step: you need to find racks that prevent the motherboard from touching the body of the system unit (another function is additional cooling). Your own racks must be included with the board, which can be installed if they are missing. Installing racks should not cause any problems. It is necessary to correlate the holes for the racks on the motherboard and the racks themselves on the case. Before tightening, make sure that all racks are in place. Due to the differences in the manufacturers of cases and motherboards, the holes may not coincide, therefore it is recommended to fix as many racks as possible.
Board Installation: Step 4
We figure out how to install the motherboard in the system unit on the racks. Before tightening the bolts, the connectors must be aligned with the plug-in board. A few tips:
- no need to tighten the bolts very much;
- when installing the motherboard, you can not use an electric screwdriver;
- it is better not to use non-metallic fasteners (or you need to put cardboard linings under them).
When the bolts are installed in the racks, you can begin to connect the components:
This is best done at this stage, since then it will be simply inconvenient.
Board Installation: Step 5
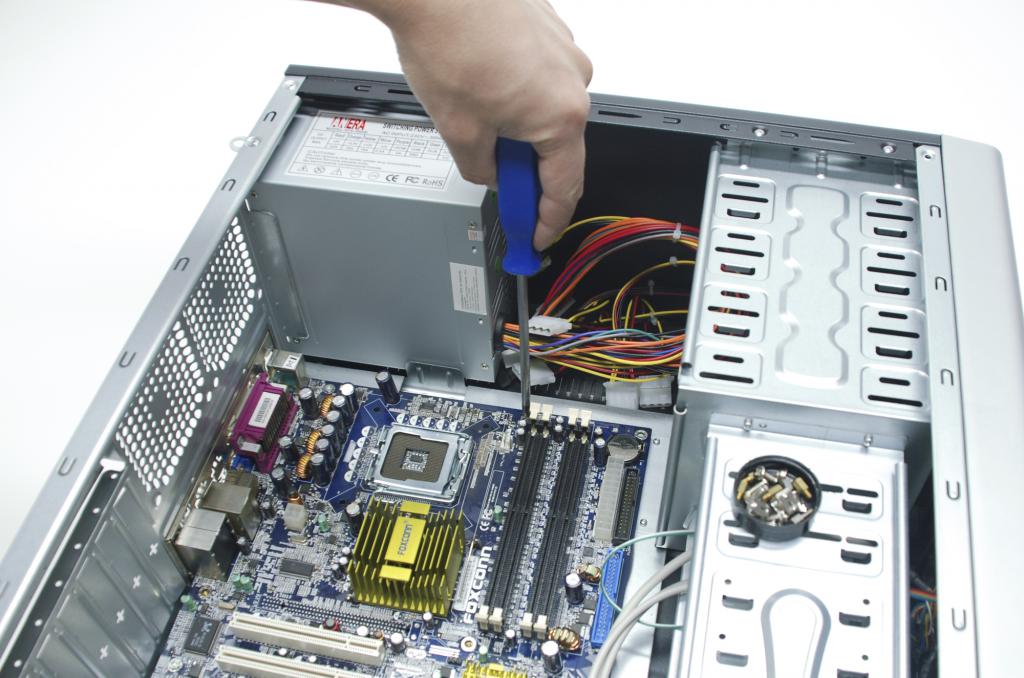
At this stage, you can connect the power from the network to the computer. If you have forgotten which pin connectors are inserted where, then refer to the instructions or manual. Then you need to connect the buttons and indicators on the front panel of the case. To do this, the corresponding wires are connected to the corresponding contacts on the board. These include:
- on and off button;
- reset button;
- HDD power and load indicator;
- speaker.
Also connect the USB ports to the labeled pins on the motherboard. Next, connect the coolers for the processor and the case with power contacts having the required number of metal contacts. Install the hard drives in the chassis racks and use the SATA cable to connect them to the connectors. A required component is a graphics card. It must be inserted into a suitable connector.
In order for the next time it is more convenient to carry out the replacement of components, sticking out wires is better to tie with ties, distributing the wiring inside the case. After all operations, close the system unit covers by tightening the bolts into the sockets. But how to install the motherboard in the ASUS system unit? The installation process for ASUS motherboards is practically no different from the steps described above.
Useful Tips
- To frequently asked questions about how to install a motherboard in a system unit without protection, experts say that protection is a prerequisite for observing measures to preserve the health and life of the installer.
- It is important to follow the instructions in this order.
- Often, when buying a new motherboard, the user has to order new coolers and a case.