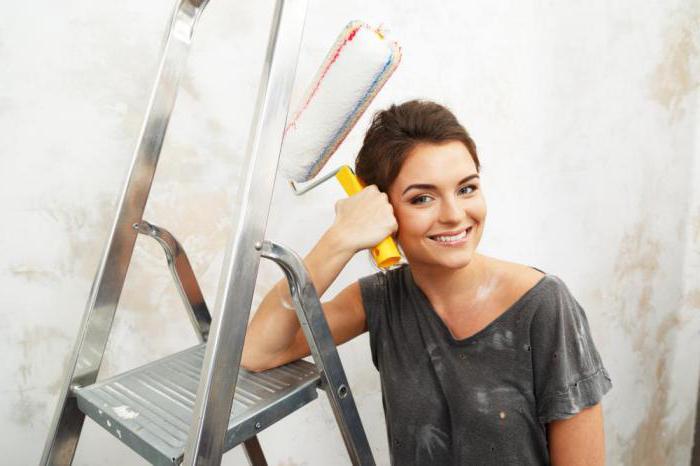
At one time, painted surfaces were each associated with eerie curved walls, covered with a layer of a dark shade of oil paint. They looked equally unpleasant both in apartments and in residential premises. The apartment owners tried by any means to get rid of this “beauty” by gluing wallpaper and foam onto dirty green and poisonous blue surfaces, while the most skilled ones simply stuffed a lining on them. Then, already in the early nineties, when building materials unprecedented and unknown to the Soviet people began to appear in stores, very many began to paint the walls with water-based paint in different colors. It was fashionable and prestigious, almost every second thought that only such decoration would make the interior of an apartment or house richer. True, such a question as the competent preparation of walls for painting with water-based paint was not particularly considered. And therefore, the result was far from always being what one wanted. And gradually they began to refuse this type of decoration, especially since unprecedented vinyl and non-woven wallpapers of unusual beauty and outlandish colors appeared on store shelves. As a matter of fact, to this this small digression? And to the fact that at the moment, coloring is again becoming popular. Moreover, in a completely different form, as it is carried out using the latest materials and using modern technologies. And if it is planned to carry out such type of finishing work as painting walls, the preparation of the surface is the main and determining stage. And it is to this process that the entire subsequent text will be devoted. We will try to tell you as much as possible about what is the preparation of walls for painting. The order of work, all the nuances of their conduct and useful advice from specialists - read about all this below.
Types of surfaces to be painted
So which walls can be finished in this way? In principle, almost any. But, from a professional point of view, at the moment it is advisable to paint: plastered or well plastered surfaces, a base made of material intended for this (wallpaper for painting, fiberglass, etc.), textured and embossed plaster, drywall prepared way.
Depending on which surface will be to be finished, the walls are prepared for painting. Some stages are characteristic for each type of work, while some in one or another case are either not applied at all, or are combined with each other.
The procedure for preparing walls for painting
This is usually a phased process. First, the surface must be prepared. Then level - either with plaster or drywall. After that, finishing is done either with putty or decorative plaster. There is also such an option as a sticker on the already plastered wall of the wallpaper for painting or fiberglass. Both of these procedures also apply to the finish. Further - in detail about what is the preparation of the walls before painting in each case.
And let's start with the preparatory procedures, which, as a rule, are almost the same in all cases.
Preliminary work
Preparing walls for painting requires a very thorough approach. And it is necessary to approach the issue with all responsibility, because the final result completely depends on it. So, the walls must first be cleaned of old finishes. If this wallpaper, they need to be removed, and completely. If it’s oil paint and water-based paint, you also need to get rid of it, not to mention whitewashing. After this, a thorough audit of the walls is necessary. First of all, check their integrity. If they were previously plastered, the mortar layer is strong and holds well on the wall - excellent. If there are places where he literally walks with a shaker, they must be cleaned, and the defects should be repaired with a fresh solution. If more than 40 percent of the surface is damaged, it is recommended not to trifle and completely remove all old plaster from the wall.
As soon as you find that you have a solid foundation in the end, you can begin to primer it.
Small digression
An interesting feature of the repair work is that sometimes the preparation process takes almost more time than the entire procedure of the subsequent finishing. Sometimes paper wall-paper has to be removed literally in millimeters from some walls, and what can we say about how difficult the procedure for removing oil paint. Therefore, before continuing the conversation about how to prepare the walls for painting after the preparatory stage, we want to give some tips from experienced craftsmen. Perhaps they will help someone cope with dirty and hard work faster.
How to remove wallpaper
Never remove old wallpapers, unless, of course, they themselves fall off the wall, in a dry form. When the paper is firmly stuck to the plaster, it can sometimes be removed only together with the base itself. Therefore, arm yourself with a bucket of warm water and a brush (and not a roller!) And begin to wet the wall. And more than once and not two, but literally almost every 15 minutes. Believe me - your hard work will be rewarded. At some point, the wallpaper will begin to bubble and lag behind the wall. You will only have to help them a little in this.
How to get rid of paint
It is impractical to try to remove the paint from the wall with a small spatula. It is better to immediately take a drill with a nozzle created specifically for these purposes, and work with this tool. The only thing you can try is to remove the not very high-quality water-based paint with a sponge moistened with water. However, if you have to prepare large surfaces, you can imagine how many walls you have to wash.
Proper priming
Despite the advice of some, never apply a primer with a roller. At the same time, most of it will be on the floor, which, by the way, will be quite difficult to clear from the dried composition later. The best option is a spray gun, at least portable. If it is not, work with a brush. Only in this way can you really prepare the foundation with high quality and ensure that the primer penetrates into its inner layers.
Next stage
If the original wall is flat, the plaster is preserved on it, the defects are repaired, you can proceed to the finish. What it will be - puttying or coating the surface with decorative plaster - depends on the type of work chosen. In any case, even walls can already be prepared for painting. Another thing is if they are so crooked that to cope with them is almost impossible. In this case, it is more advisable to pay attention to drywall. It is possible to level the surface with its help quite simply and quickly. True, then it will also have to be prepared for coloring, but we will talk about this below.
If you have removed all the old plaster and you have a bare concrete or brick wall in front of you, you will have to level it with plaster mortar using beacons. This is the most effective method that allows you to get a truly flat surface.
If drywall was chosen
Talk about how to mount GCR on the walls, we will not. This is not our task. But to say a few words about what is the preparation of drywall walls for painting, it is necessary. The thing is that directly on the GCR neither wallpaper nor the coloring composition is applied. They must be pre-puttyed, thoroughly cleaned and primed, and only then painted.
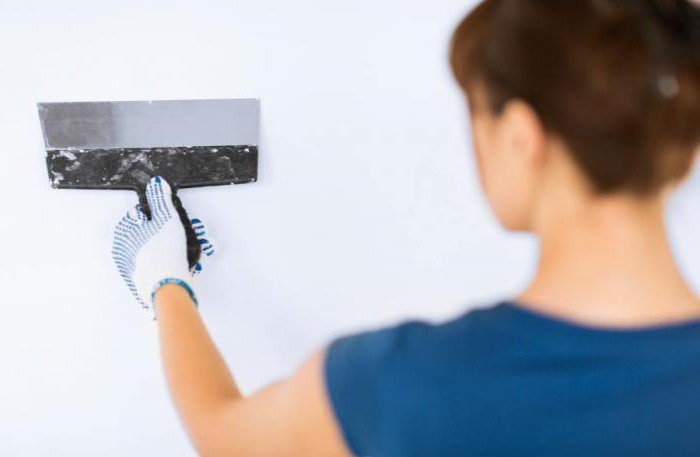
Puttying process
Perhaps this is the most difficult procedure that needs to be carried out by the master who prepares the walls for painting. The fact is that the surface should not only be flat, but also perfectly smooth. The slightest defect, the slightest scratch, will be visible after the paint dries. And in order to achieve this, the procedure must be carried out in two stages. A rough coat is applied first, first. After it has completely dried, you should go over it with a net or sandpaper to smooth out all the bumps. And after that, carefully prime and wait for drying again. And then apply a thin finishing layer of putty, which completely covers the existing defects. In the same case, if there are any minor irregularities, they can be carefully coated, then again cleaned the entire surface and primed. Then, after a day, it is allowed to start staining.
Nuances
If the walls are being prepared for wallpaper for painting, then in this case it makes no sense to achieve an ideal surface. Yes, it should be smooth, smooth enough, but it may have minor defects. The main thing is to get a really solid foundation. The very same wallpaper for painting, as a rule, is always corrugated, and therefore all kinds of scratches simply hide under them. The only rule that must be observed is that during puttying it is not recommended to leave areas with a thin layer of putty through which the plaster is exposed. The entire process must be carried out with the same thoroughness as the preparation of walls for painting without wallpaper requires. You just can not get hung up on minor defects. They will not be visible. Otherwise, there are no differences. The finishing putty is cleaned and primed. After it dries, you can start gluing the wallpaper. To paint them is allowed no earlier than at least four days after pasting. Give them time to dry. Otherwise, in the end, under the influence of paint, they will begin to get wet and peel off the wall.
There is one more question that cannot be ignored when it comes to how to prepare walls for painting. This is the use of a material such as fiberglass. Professionals call it painting fiberglass. About him - further.
Fiberglass
What is it for? And in order to make the surface perfectly smooth and protect it from cracks. And then the walls pasted over with painting glass canvas will delight you with their magnificent appearance for a long time, since they are not afraid of any shrinkage or temperature changes, because all the defects that appear on the surface will be hidden under fiberglass. By the way, the latter is also corrugated and quite thick, and very thin, literally translucent canvas. It is also called a spider web. It is this variety that is most popular, since, firstly, such fiberglass is literally a penny, and secondly, it is easier to work with.
And a few words about the process itself. First, the wall is putty. It is enough to apply only one, a rough layer. Then it must be cleaned and primed. And stick a spider web on a special glue. You can take a composition for non-woven wallpaper. After drying, the fiberglass is again bonded with a very thin layer, and this procedure is very simple and quick. After priming, you can paint the walls.
And about textured plaster
If the walls are being prepared for painting using decorative plaster, then a procedure such as puttying is not required at all. The textured solution is applied directly to the prepared draft base, after drying it is primed and then painted.