Not a single window will look beautiful without a windowsill. This important element must be installed correctly, because the microclimate in the room depends on it. In addition, it will be exposed to various effects: ultraviolet, moisture and temperature extremes. Before you figure out how to install a window sill, you must select the material and the height of the product.
At what height should I install?
Experienced installers recommend placing window sills at a certain height specified in building codes. However, this does not mean that you have to adhere to them in everything. Each homeowner can choose absolutely any height of the product. As for standards, these parameters were invented for convenient operation and security (with windows open).
In accordance with the rules, the windowsill should be placed at a height of 700 mm, but not more than 1000 mm. This will allow the sun to pass into the room and install the heating equipment.
Types of window sills
Today there are window sills made of different materials, but the most popular are plastic, wooden and stone structures. Plastic products are considered the most popular due to their high strength, low cost, durability, resistance to temperature extremes and ultraviolet. It is easy and simple to install a window sill from plastic yourself, without having to cover it with protective compounds.
Wooden structures are great for log cabins and similar structures. More expensive and high-quality products are made from beech, oak, mahogany, and simpler ones are made from pine and larch. Among their advantages distinguish good thermal insulation, breathability, durability and resistance to various temperatures. However, the tree is afraid of moisture and requires updating the protective layer every 3-5 years.
Stone window sills are made of natural or artificial stone. The most durable are granite structures. More beautiful and environmentally friendly are marble and onyx products.
Window sill installation methods
To understand how to install a window sill with your own hands, you need to familiarize yourself with different ways of installing it. It can be attached with the help of a special compound, self-tapping screws, spring brackets, linings. The simplest and fastest products are attached with self-tapping screws. For this, holes are drilled in the window frame into which the parts are screwed. The joint is protected by silicone sealant, after which the edge of the window-sill element is wound under the frame and screwed with screws. Empty space is filled with construction foam.
Spring brackets are screwed to the profile with screws, and a window sill is installed in the groove between them and the frame. The pads are placed under the product so that its edge fits as tightly as possible to the frame.
Training
Before installing the window sill, it is necessary to prepare the base for it. To do this, remove all debris, clean the surface and perform marking. The top line of the structure should extend beyond the bottom edge of the window by at least 5 mm (this ensures an adjustment clearance). The width of the opening should be more than 40-60 mm.
After that it is necessary:
- outline a groove for the protruding part of the product with a margin of 15 mm (depth - 30-50 mm);
- mark out a notch with a puncher and grinder;
- clean everything from dirt and take measurements;
- take a blank of the future design, measure all parameters and cut (the principle is described below);
- outline and cut corners.
Window sill trimming
A fairly important stage of work is trimming the structure (you can order its required size). Before cutting, make special allowances of 50 mm. In this case, the windowsill can have a length of up to 300 cm and a width of 25-70 cm. All excess is cut off on the side adjacent to the walls. The cut line should be located behind the stiffeners and retreat from them by 5-10 mm. Such manipulations will not allow the product to close and will allow you to get a hard joint with the frame. If you do not save the stiffeners, the inside will lose shape and bend inward.
To trim the windowsill use a saw, electric jigsaw or hacksaw. It is very important to carefully work with plastic and not to press it hard, otherwise there will be scratches or other defects.
Opening preparation
First, prepare the opening, and then install the windowsill. The windows must be mounted and protected from damage. Preparatory work cannot be performed without beacons along which the solution is poured (it makes the surface smooth). There should be a gap of 20 mm under the product so that the tube of the mounting gun with foam fits there. If a heavy windowsill is mounted, then the adhesive holding it will take only 5 mm.
It is very important to check the evenness of the bottom edge of the window, since burrs are very common at the junction of vertical and horizontal profiles. They must be cut off with a knife. Possible defects are also identified on the lower profile. They are easy to notice if you pull the thread from one corner of the window to another. This is corrected by squeezing wedges and foam.
Installing a plastic window sill
Most often, private homeowners are interested in how to properly install a window sill on plastic windows. To do this, perform the following manipulations:
- clean and spray the surface with water;
- start the structure in the groove under the window and insert wooden wedges (after 40 cm);
- level the product with a building level;
- eliminate irregularities with a lining of different thicknesses;
- place heavy objects (for example, cans of water) on the windowsill and once again check its evenness;
- fix it with mounting foam;
- attach the outer part to the frame using self-tapping screws;
- After a day, remove the load and remove excess mounting foam.
Installation of a wooden window sill
It is very important to know how to install a wooden window sill, because in this process there are several nuances. It must be treated with protective compounds (especially in places of abutment). After that, the surface is cleaned, covered with a primer, and its invisible seams are foamed. The window sill is installed with a slight slope inside the room (using wooden wedges).
The rigidity of the base is provided by bars and cement-sand mixture, which should rise above them at least 5-7 mm. The wooden structure is laid on the mixture and pressed so that it adjoins the wedges. Also, the base may consist of bars and polyurethane foam, which fills all the gaps.
If the window is made of wood, then you can attach the window sill with screws that go from the side of the facade. It is leveled after laying cargo or installing spacers (after a day they are removed).
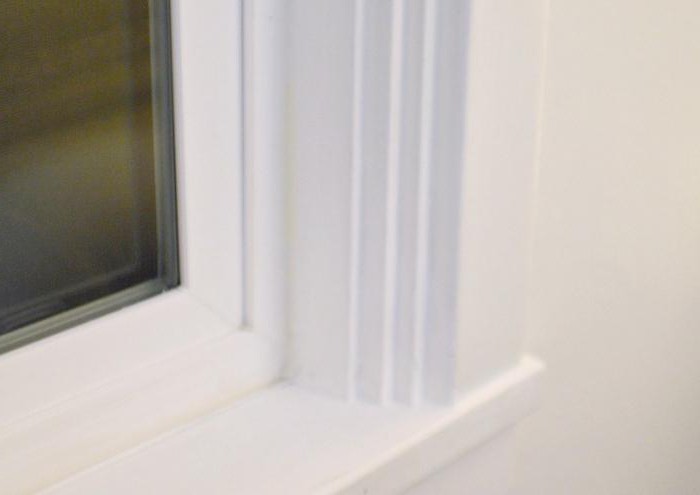
Installation of slopes
Now we know how to install a window sill, so you can proceed to finish the slopes. They can be plastic, plastered, plasterboard, wooden. The most popular are plastic products. They are mounted immediately after the curing foam hardens. The area around the window is leveled and puttyed, after which a recess is made in the foam near the frame (for strength). A wooden plank is attached along the edge of the opening, with the help of which a plastic D-profile is held. The joint between the base and the slope is filled with mounting foam, and the gap with mineral wool. After that, the product itself is attached: one side is fixed to the frame, and the other to the plastic profile. Corners are decorated with decorative elements.
Plaster slopes require a lot of time and effort. In this case, you will need to apply several layers of plaster, and each of them must dry thoroughly. After complete drying, the surface is ground and coated with paintwork. It should be remembered that work can only be carried out in a warm room.
To obtain drywall slopes, you need to cut a sheet of material to the size of the opening and attach it. Between it and the wall there should be a layer of thermal insulation. Drywall is primed, dried and coated with paint (in several layers). Such slopes have excellent decorative characteristics, so they fit perfectly into any interior.
Wooden slopes are usually made of pine, larch, spruce. In this case, the material is supplied in boards having a thickness of 8-16 mm. Before installation, they are cut and adjusted under each opening. Installation work begins with the top panel, and then proceeds to the side elements. The panels should be located in the same plane with the opening, after which they are putty, painted and varnished.
It is necessary to establish slopes correctly. Window sills only then will look as beautiful and stylish as possible.
Product Replacement
The window sill is often subjected to mechanical stress, so it may require replacement. A quality installation will slightly extend its life, but repairs may still be required over time. To replace the windowsill successfully, you need:
- dismantle the old structure;
- install a new product in the same place;
- plaster and paint the surface to restore its former appearance.
To update the type of structure, grinding can be performed. The procedure is only possible if there is no mechanical damage.
It was described above how to install a window sill, so there should be no problems with it. It is very important to know all the nuances and subtleties. If the structure is mounted incorrectly, then you can get an untidy and uncomfortable room (condensation can also settle).