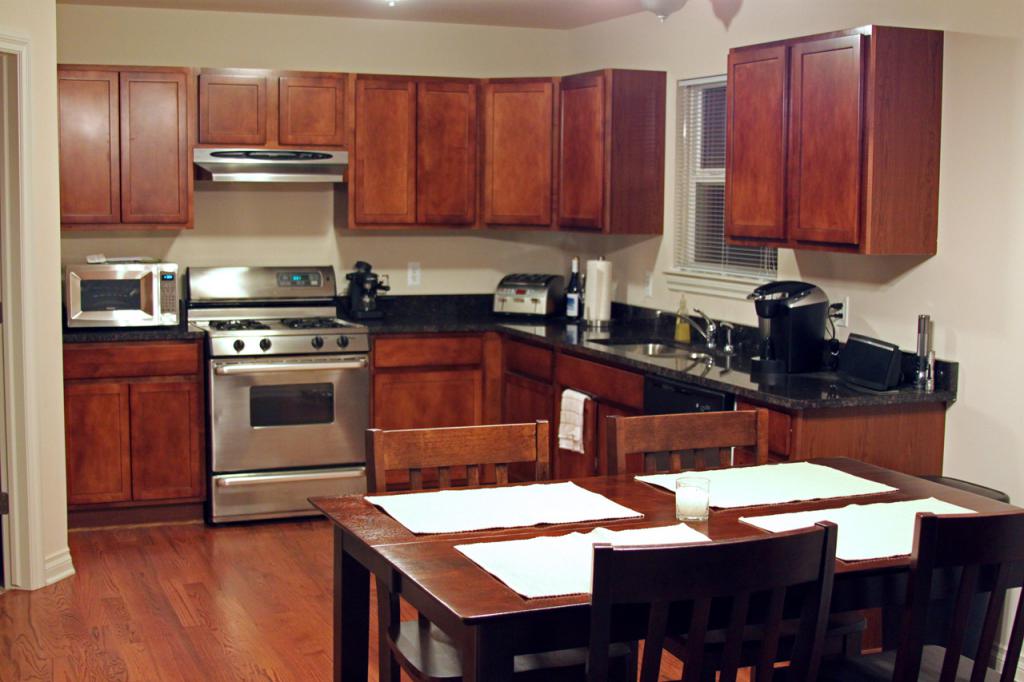
When the kitchen has ceased to like or is already dilapidated, there is no need to rush to buy a new one. Furniture can give a new life if you change its appearance. This will take several free hours or even days. But you can save money and get an absolutely unique design. How to update the old kitchen, the publication will tell.
Methods of restoration
Experts offer many methods with which you can refresh the kitchen. Do it yourself will be able to carry out the following options.
- Paste with a self-adhesive film.
- Make decorative inserts.
- Paste with ceramic tiles.
- Make rattan inserts.
- Paint in a new color.
- To varnish.
- Replace facades.
- Insert new glass.
- Change accessories.
Next, each of the methods will be considered, so that it becomes clear how to implement it at home.
We update the kitchen set with self-adhesive film
Perhaps this is the most basic version of the restoration. Cheap and cheerful! But the process is quite laborious, requiring patience. If you hurry up, the film will lie crookedly, with bubbles or tubercles. Experts recommend updating this way only laminate furniture. But practice shows that the method is suitable for almost any material.
Vinyl film is very practical. It is resistant to moisture, heat and mechanical stress. Therefore, she is able to permanently preserve the pristine beauty of the design impulse. For the design of the kitchen, it is better to choose only high-quality film, the pattern of which imitates tile, marble, stone, wood or genuine leather. So the headset will look not only exclusive, but also worthy.
Anyone who knows how to handle scissors, a centimeter tape and be patient can handle this restoration method. But you should not rush with pasting. It is important to carefully prepare the work surface. The instructions below will tell you how to update your kitchen with plastic wrap.
- Remove the doors, inspect them against the light. Scrape off the accumulation of dried fat. Wipe the surface with white spirit or acetone.
- Glue peeled edges, leave to dry.
- Wipe existing potholes with fine sandpaper. Thoroughly remove dust and apply a thin layer of acrylic putty. After drying, sand again and apply building primer.
- Deeply damaged areas will have to be repaired. To do this, make a template and cut a patch on it. It can be made from thin plywood, wood veneer or bottle cork. For the restoration of edges suitable construction PVC corner. Under it, you can put chips in order to even out the distortions. After you need to repeat the above points.
- It is recommended to varnish the surface. So the film will go better.
- Now you can proceed to pasting, starting from the edge of the door (or drawer).
Wrap Restoration Tips
How do I upgrade an old kitchen with my own hands to make it beautiful? Experts give some important recommendations.
- How to calculate the amount of material required? It should be so much that each cut-out part consisted of a solid canvas, and not of pieces. Therefore, it is necessary to rely on the length and width of the film. It should be understood that leftovers are inevitable. You can’t save money - the pads will be immediately noticeable, and they won’t last long.
- On a light film, any defect is visible. Therefore, the work should be done perfectly. The same applies to the “granite crumb” pattern and pearlescent surfaces.
- If the film imitates a tree, then the textures should be rotated in one direction. If on adjacent surfaces the patterns are turned both vertically and horizontally, then this looks unnatural.
- The tubercles formed on the film cannot be punctured with a needle. Otherwise, moisture and dirt will accumulate in these places, and the bulge will only increase.
Decorative inserts
This is a very interesting way of updating an old kitchen unit. The idea is that decor is added to the furniture, which creates a completely new style. You can use plastic flat inserts, voluminous marquetry, carved or hammered parts. Recently decoupage has gained enormous popularity - decoration with pieces of napkins with a pattern. The stylistic possibilities of this technique are quite wide: from archaic to modern techno. You can decorate individual sections or the entire headset in general, so that it changes beyond recognition.
In general, for episodic restoration, you can use anything you want. Even wallpapers and a self-adhesive film will do. They will fit perfectly if they overlap with other details of the kitchen interior. Rattan and ceramic tile inserts look very interesting.
Rattan headset decoration
How to update a kitchen set with your own hands to get unusual and stylish? You can make rattan inserts. They can replace glass and protect facades from impacts. Palm weaving absorbs moisture, but warping of surfaces does not occur, which is very important in the kitchen. This restoration method is suitable for oriental, colonial style and safari themes. Rattan lattices come in various colors and types: transverse-longitudinal, hexagonal, combined and so on. The assortment is rich, so you can pick up for every taste.
How to update furniture in this way? You need to cut a piece of suitable size from the rattan sheet. This is more convenient to do with secateurs, metal scissors or a boot knife. Fix the workpiece on the facade with a construction stapler. If desired, you can glue or screw a wooden frame.
You can do even easier. Cut the workpiece with allowances and soak in water. Bend the edges inwards and temporarily fasten them. When the rattan dries, it itself will stretch and fix.
Decorating a headset with tiles
How to update the old kitchen, if not ceramic tiles? The idea seems crazy, but many masters have already successfully used it. Of course, we are not talking about whole layers and a thick layer of glue. For this type of restoration, special ceramic applications are available. These are thin stripes, rhombuses, rivets, caps of carnations, single flowers and whole still lifes. The assortment is very rich, so you can choose a tile for any style. It not only transforms the headset, but also protects from external influences.
Particularly daring designers can try to lay out classic tiles on the worktop. If everything is done correctly, then such a coating will be no worse than natural stone. The photo below shows an example of how to update the countertop of a kitchen unit.
Experts recommend as follows to carry out work on the application of ceramic tiles. If necessary, remove the doors from the cabinets, thoroughly clean the surface and, if desired, paint in a different color. Prime the tile from the back and dry it. Attach with tile adhesive or mounting compound. You can additionally create a frame from a decorative molding.
Updating the headset with paint and moldings
This is a great way to restore old furniture. It can be painted in absolutely any color. The headset will not only be updated, but also completely different - guests will not even recognize the old in it. Refreshing the kitchen with paint is a snap. Anyone who has ever held a brush in his hands can handle this. Previously painted surfaces, if they are not damaged, do not need priming. If it is pure plywood sheets or wood, then this step is required. After priming, you can proceed to painting. For reliability, it is better to cover with several layers of varnish.
During reconstruction, moldings are often used along with staining. These are overhead decorative elements that are designed to finish various designs and surfaces. They can be flat, voluminous, stucco, semi-cylindrical and of various configurations. Experts advise taking thin semicircular trims for decorating kitchen facades. If they are superimposed on a spectacular background, the headset will acquire an expressive style.
Staining tips
In principle, working with paint is simple. With its help, you can create incredible effects. Specialists give the following tips on how to update a kitchen set with paint.
- Stripes are often visible on plain surfaces. To avoid this, paint is best applied with an airbrush. You can also use a more affordable tool - a velor roller. They need to paint only in one direction (up or down). This rule must be observed when processing the entire headset.
- If the kitchen has a wooden floor, then the facades should be painted in a similar color. Moldings should also match the shade. The texture “under the tree” can be prescribed with darker and lighter paint. The work is best done using the raw method with a thick flute brush.
- The marble pattern looks beautiful on the kitchen set. It can be recreated with pearl pentaphthalic paint. It is recommended to roll it on the surface with a roller. After that, on a still wet layer, paint should be stained with a brush. It should be very different from the general background. The spots should be of several colors: bright, light and with black. Within 15 minutes after application, drops can be reduced by a nylon plate. After this, the surface can not be used for two days.
Lacquer restoration
How do I upgrade an old kitchen set with my own hands? If he is not tired, and he just has a slightly worn look, you can varnish the surface. This is a great way to protect paint on furniture or solid wood. The varnish does not have to be glossy; today it is easy to find matte compositions. If you tint them a little with color, you can get an incredible shade. But it is worthwhile to understand that in this case, the transparency of the varnish will decrease. Using this method, you can simulate various surfaces if you work with a spray gun. Depending on the mode of the nozzle, you can get the effect of silk, bubbly skin, mica plates or rain.
Tips for working with varnish
Designers give several recommendations on how to upgrade an old kitchen. They relate to the choice of tools, tools and the work itself.
- For kitchen furniture, it is better to purchase alkyd, polyurethane, nitrocellulose, epoxy or acrylic varnish.
- If there is a “chameleon” type additive in the varnish, then when it dries it will become pearlescent.
- Brush bristles and roller fur should be resistant to caustic thinners. Before the first use, they must be washed in water - this is how strength is checked.
- Varnishing must be carried out in a clean and well-ventilated area.
- If work will be carried out with a spray gun, donning a respirator is mandatory.
- The first layer should be made as thin as possible. When it dries, polish should be done. The brightness intensity depends on this. After that, you can do the following layers.
- If restoration is carried out by a spray, then first you need to check the operation of the nozzle on a cardboard. Some devices "spit" varnish. Because of this, ugly drops may remain on the surface.
- If the brush fell off the brush during varnishing, it must be immediately removed from the surface with an awl.
- You can update not only facades, but also glass doors, thereby creating a tinting effect. For this, a pigment must be present in the varnish.
Replacing hardware
If you want to slightly upgrade the facade of the kitchen, you can try replacing the accessories. Sometimes this is enough to feel a tangible difference. It is small, seemingly invisible details that play a significant role in the overall image. Correctly selected fittings emphasize the style and give a finished look.
You can replace handles, hinges, hooks, latches, guides, and other small parts. Today in stores you can find a huge number of different options: from simple transparent to elaborate color ones.
Before buying new accessories, it is important to know the dimensions of the old. Details may not fit the size, and you will have to make additional holes in the cabinets. Then you have to think again how to update the old kitchen. For reliability, it is better to take old accessories with you to the store as a sample.
Replacement of furniture facades
This is another great way to update the facade of a kitchen unit. Do it yourself is quite possible. From materials it is worth giving preference to moisture resistant plywood. It is durable and lightweight, not afraid of water - ideal for kitchen furniture.
What kind of work can be done? It is necessary to remove the old facades and measure the curbstone. It makes no sense to focus on the doors, as they become deformed over time. Based on the calculations, it is necessary to cut new facades from plywood, to make holes for fasteners and handles. It remains only to decorate to your taste and hang in place.
If the headset has glass shelves and doors, you can replace them. Today in kitchen design at the peak of popularity matte and colored surfaces. In the store you can buy any glass. But dullness can be given at home. For this, a mixture of silicate glue and powdered chalk should be applied twice to the glass.
So, the publication told how to update the old kitchen. This is easy to do with your own hands. But if you have doubts about your own abilities, then you can turn to professional designers for help.