Every year, trends in nail art are changing. An interesting gradient style is in fashion this season. He conquered fashionistas a few years ago and still has not lost ground. An ombre style manicure will be simple to make if you know the features of applying and shading the varnish. Want to master the secrets of excellence? Then read the article.
Pink
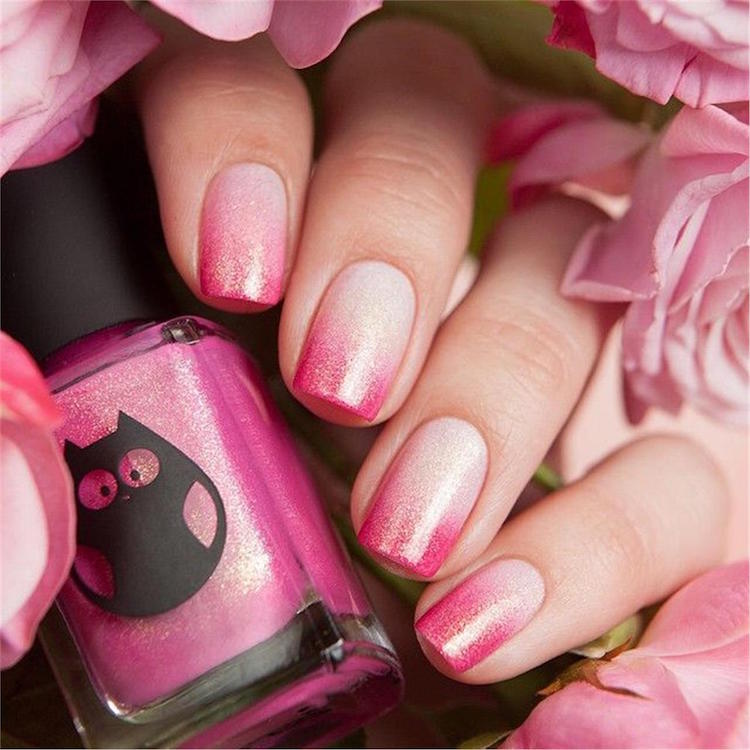
Any manicure needs to start with the preparatory work. Before you start creating a gradient, you need to process the nail plates. How to make an ombre manicure? Saw your nails with a buff and degrease them. Then apply the base. The first layer is needed in order to smooth the surface of the nail, as well as to provide a stronger adhesion of the varnish and the nail. The second layer on the entire nail is applied a light pink shade. It is advisable to choose a thick and viscous varnish. It will be more convenient to work with such material. The second layer will be stewed. On the base of the nail, drip a light pink varnish, and paint the free edge with a bright varnish. Armed with a flat and thin synthetic brush, we begin shading. Light color must be pulled up. Fidgeting movements are not worth doing. You will not be able to stain varnishes well, but only bring down the junction line. It is advisable to make the gradient in one layer, but if you are a beginner, you can repeat the whole process of work again. In this case, move the joint one millimeter higher or lower than the previous one. On the finished coating, apply the finish and dry the result.
Beige
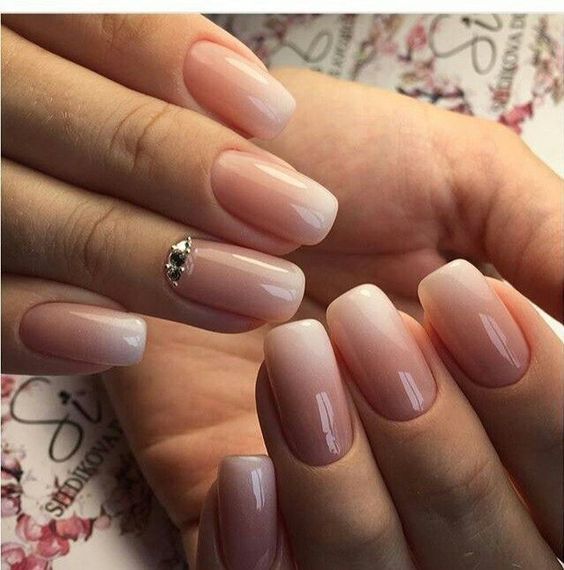
Ombre manicure nails will perfectly complement any look if you make a gradient of beige and white. A smooth transition will look almost as neutral as a regular beige varnish. But unlike a simple natural coating, this will have its own highlight. How to create a similar manicure? File your nails and degrease them. Apply camouflage. It is preferable to use it instead of the base, since on an ombre-style manicure many layers are obtained, especially for an inexperienced beginner. A color base will reduce the number of layers to a minimum. Paint the nails with beige, dry the camouflage, and then visually break the nail into two parts. On one of them, apply a color base, and on the other part - white varnish. Brush "comb" you need to smoothly enter one shade into another. In this color scheme it is better to introduce white to beige. With smooth movements, we drag the brush down from the beginning of the white color to the middle of the beige part. We remove the brush, wipe it and next we draw another strip from top to bottom. Thus, you need to process the entire nail. Fix the manicure will help the top.
French ombre manicure
Do you prefer classics? Ombre-style French manicure is much more popular today than its classic version. Therefore, do not hesitate to do it if the length of the nails allows you. How to create such a beauty? Saw and degrease the nails, and then apply a base on them. This standard procedure will help to bring you a manicure not for two weeks, but for a month. Therefore, do not be lazy to spend the extra 10 minutes not to spend two hours later on creating a new manicure. At the end of the preparatory work, you can begin to design. If desired, you can cover the nails with pink or beige or leave them with the base applied. Brush the outer edge of the nail with shiny polish. Sparkles need to be applied to a dry base. Using a “comb” brush, pull the sequins from the edge of the nail to the middle. There is nothing complicated in this work. Carefully see that the transition of the shiny part into the nail on all fingers is approximately in the same place. Finish the finished manicure and dry it.
Brown
Above, you can see another photo of an ombre manicure. Gel polish to create a similar design will be very simple. In this embodiment, the gradient decorates not all nails, but only one. If you don’t want to devote much time to manicure or if you don’t have the mood to do complex design, you can work on creating a gradient in just a few minutes. In this version, the manicure looks just as stylish. And pay attention to the color scheme. If you adorn the gradient with only one nail, then the color scheme of the manicure should be dark.
How to repeat the result from the picture? You need to start with washed down and degreased nails. Next you need to apply the base. In two layers on all nails, in addition to that on which there will be a gradient, apply varnish. On a nail with ombre, color is applied in one layer. We distribute the light varnish at the tip of the finger and pull it down with smooth movements. It is advisable to take dark and light varnish of the same texture in order to facilitate the mixing process. When the design is ready, it should be covered with a top for a longer wear.
Contrast ombre
Such a manicure for beginners is better not to do. The more contrasting the colors, the more difficult it is to mix them. Therefore, go to bright gradients only when you are comfortable with the ombre technique and will be completely confident in your abilities. The work is performed according to standard technology. First you need to file your nails, and then degrease. We apply the base, and then black. Take a thick varnish that will not leave streaks. The second layer will be two-tone. One part of the nail should be painted white and the other black. Using a thin synthetic brush, mix two varnishes. The stretching should be done long so that first the white varnish turns to gray and only then harmoniously merges into black. Leave the opportunity to make a long stretch in the middle of the nail. To do this, apply white color only at the very base of the nail plate. Fix the dried result with the finish.
Simple option
Photo of a manicure in the ombre style is presented above. If you want to make a fashionable design, but you can’t mix varnishes with a “comb” brush, you can slightly upgrade the color application technology. The initial stages will coincide with the classic way of creating an ombre manicure. Saw and degrease nails. Then apply the base. Now apply a few drops of paint on a regular sponge and mix the varnish with a toothpick or orange stick. Print a stencil on the nails. Wipe off any excess varnish that has painted on the side rollers of your finger. Dry the manicure and, if desired, apply another shiny layer of varnish. Do not forget to cover your nails with tops.
Matte finish
Complex textures are in fashion today. Glossy nails, although popular, but the demand for matte varnish is still growing. Ombre manicure, covered with a matte top, looks fantastic. An unusual texture, combined with a non-standard texture, provides an interesting result. You can see it not only in the picture, but also on your nails, if you repeat the simple procedure of creating a design. Saw and degrease the nail plates. Then apply base and purple polish. On the free edge of the nail, distribute the white color and brush the scallop evenly to stretch the white varnish to the middle of the violet. To cover the result of your activity you need a matte top. It is not only the upper surface that needs to be sealed - pay special attention to the lateral parts of the nail and the end. Otherwise, after a few days, glossy bald spots may appear on the matte manicure.
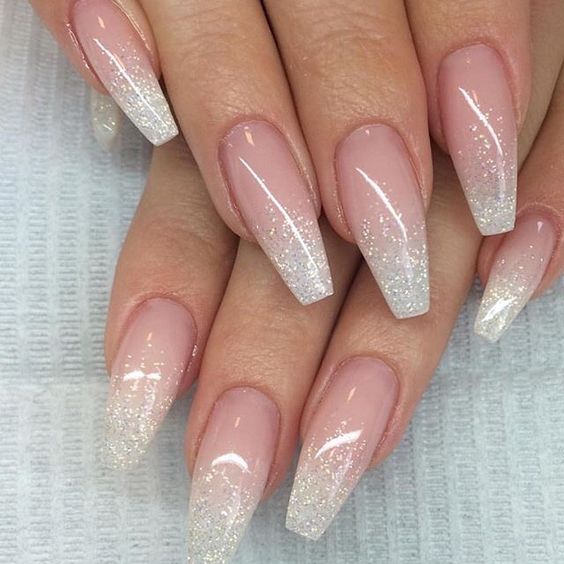
Rubbed Ombre
An ombre-style manicure can be made in the form of a French jacket. The upgraded version of the design will use not a standard white color, but a rub. Ombre with a rub can be done even by a novice master. How to repeat the result with a photo? French ombre manicure is done using the following technology. Nail plates are filed and degreased. Then the base is applied and followed by a top without a sticky layer. On the upper part of the nail with the help of the applicator should be distributed in the second. You need to do this carefully and apply shiny dust evenly so that it lies in an even and thin layer. The middle part of the nail needs only to be slightly dusted so that the stretch is uniform. Cover the manicure again and dry the result.
Picture
An interesting manicure can be done by combining several techniques in one design. Want to repeat with the photo above? Then you should make an ombre-style manicure, and apply a simple drawing with a brush, stamp or a slider on top of it. Start work with gash and degreasing. Next, apply the base and lemon varnish. When the first two layers have dried, you can create a gradient. Stretch the pink color from the tip of the nail to the middle. After completely drying this layer, you can proceed to the decor. Apply the pattern in any way. If you do not know how to draw, use special stamps. The picture will look more expressive if you use dark shades of varnishes. Do not forget to fix the result with the finish.